However, the occasion arose where a run to the store wasn't convenient and scraps were available so I decided to make my own. I figured my method wasn't anything new and it probably isn't, really, but in an online conversation with another quilter, I learned it was new to her and my ideas about writing a tutorial were validated and that is what this post is about. How I make my own binding and attach it by sewing it on only once.
MAKING BINDING
Start by measuring the 4 sides of your quilt sandwich (post quilting) add a good 12"-16" to that number. This is the total length you need for one long strip of binding. Let's call this number "X".
Take whatever fabric/fabrics you have and cut 2.5" strips out of them until you have enough to = a minimum of X. Now, here's the trickiest part of this entire exercise, the more pieces you have to sew together, the more you will need some extra length beyond X. I am sure that didn't make sense but let's just say that these strips will be sewn together on a diagonal and therefore, some length will be lost each time that happens. Therefore, I always cut one extra strip or two, just in case I need them to bring the total sewn length to X.
Let me show you...
Cut 2.5" strips.


Cut excess fabric off leaving 1/4" seam allowance. Finger press seam open.


Repeat the above steps until you have one single strip long enough to equal X.
Next, take your strip to the ironing board. Set your iron to hot, no steam. You want to press creases into your strip. I work by putting the excess strip on the left and pulling it to the right side in these next two steps because I find it easier to have an assembly line-like movement this way and I am right handed. See the piles in these photos? One on the left is at the beginning of a step and the one on the right develops as I pull from the left.


Whether you choose to do it this way or not, the next step is to fold the strip in half lengthwise, wrong sides together, and press a fold into the strip.

Once complete, fold over the raw edges, lengthwise and wrong-sides together toward the center seam. They should meat the seam in the middle. old these together so it is a 1/2" folded strip and press. To ensure a noticeable crease (you will want this later) I often challenge myself to work really fast by leaving the iron rest on the fabric while I fold in the next 6" or so down the strip. I pick up the iron, set it down and continue to work.


Continue until finished.

ATTACHING BINDING
To attach, you have two choices. In both scenarios, start sewing about 12" from the end of your strip and about 24" from the corner you are sewing away from.
Attaching Scenario 1.1: You can line one raw edge of the binding up to the edge of the quilt sandwich (right side down) on the front of the quilt and sew along the first fold crease around the quilt (attaching the binding edges to each other as instructed further below.) Then you can fold over with the middle fold crease along the edge of the quilt and hand stitch along the fold on the opposite side (making sure raw edge is tucked under.)

EDITED TO ADD: Attaching Scenario 1.2. Mrs. A (first commentor to this post) pointed out you could also machine stitch the binding on the back, as above, and then fold it over and machine stitch it on the front. This does result in an extra stitched line on the back but if you can fold it over evenly, it looks fine. I can say I've tried this method and was frustrated b/c the only way to get it even enough for me meant I had to pin the front anyway. I would rather pin once and sew once so I cut out the sew first step.
Attaching Scenario 2. The second option requires pinning, which I hate, but allows you to sew once and catch both sides at the same time. The middle fold crease becomes the quilt edge and the binding is wrapped around the front and back of the quilt. You want to try to get the edges to match as well as you can on front and back so pin carefully.
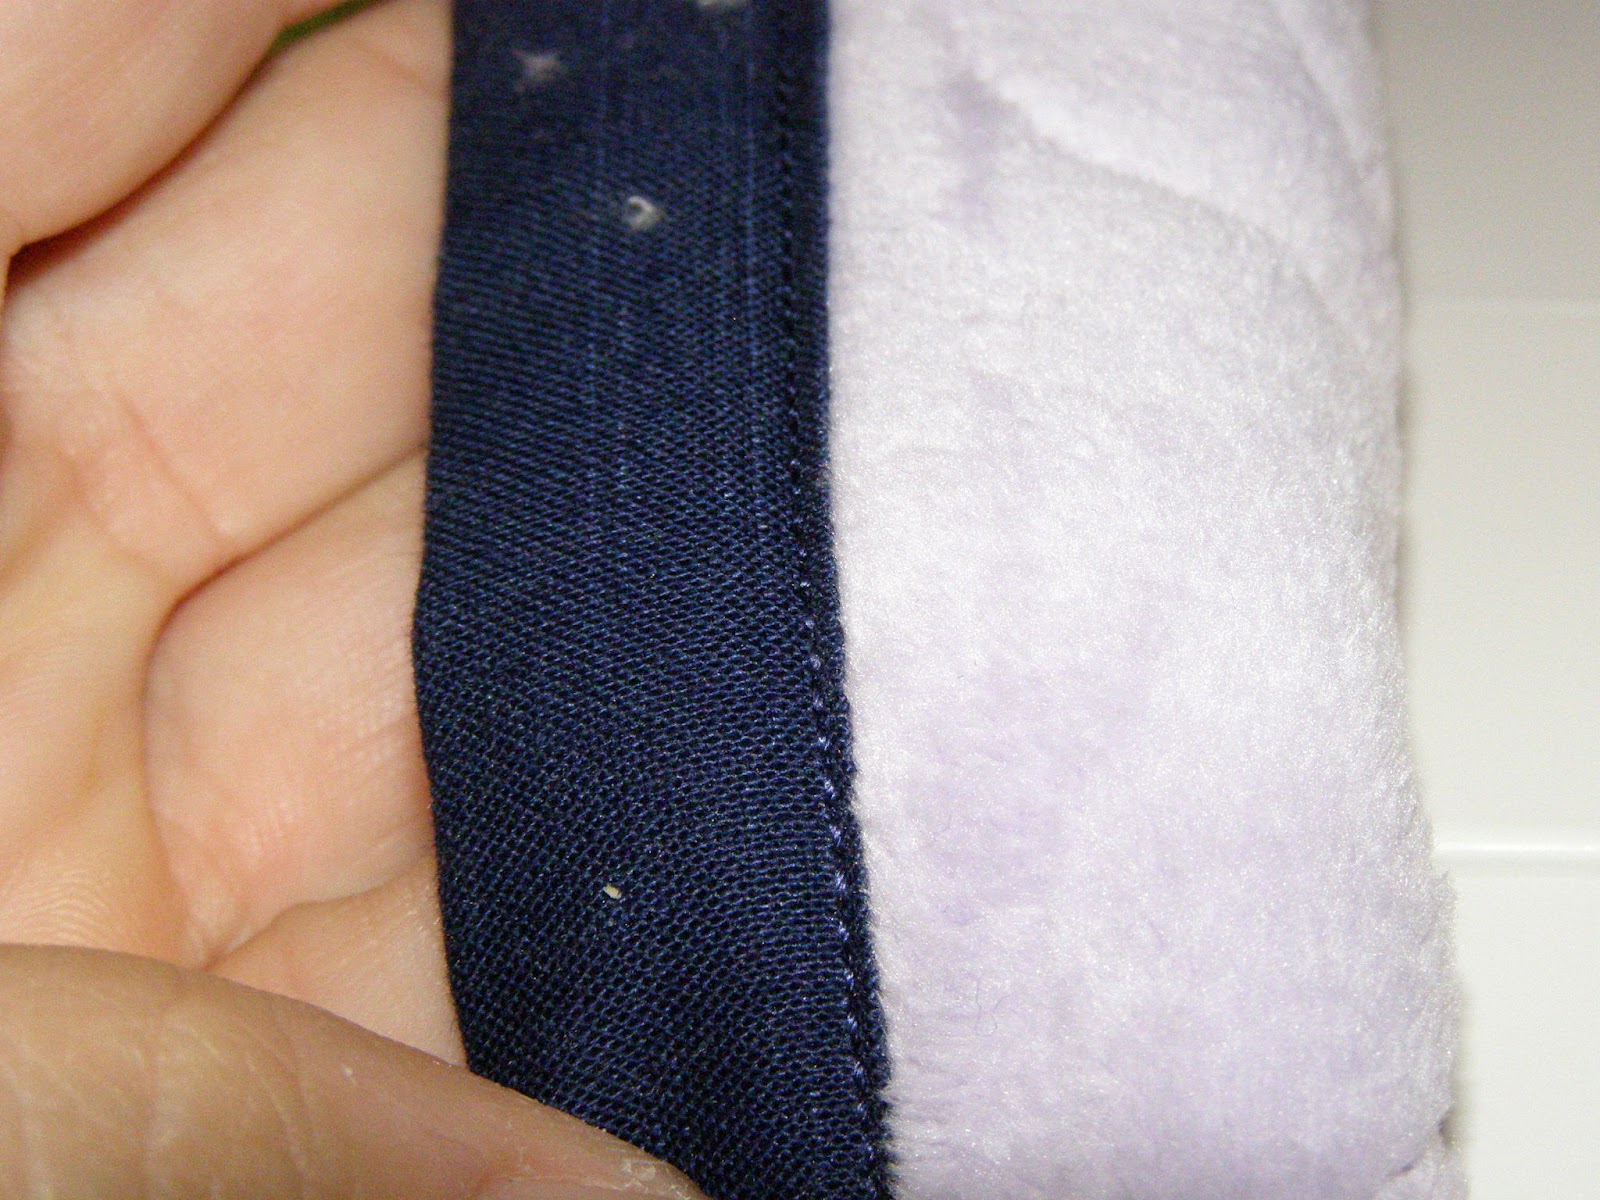
Front:

Back:

Now carefully sew along the edge of the binding, pulling pins only at the last possible second.
MITERED CORNERS (for attaching option 1)
Instead of reinventing the wheel on this one, I am advising you to go here and follow these great instructions from Jaybird Quilts Binding Tutorial.
This tutorial goes through the entire binding process but you can also simply check out the part of it that shows how to turn a corner on the binding.
MITERED CORNERS (for attaching option 2)
For this one-time sewing option, when you are pinning, pin the mitered corners in as well. As you are wrapping the binding over the edges and hold it in place at the corner.

Fold the binding around the corner and wrap it evenly in the other direction for an inch or so. Pin that down.


Now go back to the corner and take the naturally occurring corner folds, and play with them until when pressed down in front and back, they form a fairly straight diagonal and result in a pretty close 90 degree corner.


COMBINING BINDING EDGES (for attaching options 1 or 2)
This step might be confusing at first, but work through it. It is SO worth it once you do it two or three times.
After you round the 4th corner, sew about 5" past the corner and then stop.
On a flat surface, ensure the side you are working the binding on is laying flat. In the photo below, your first cut will be to the binding on the left side. Lay the binding along the side and cut it at the approximate halfway point between where the stitching ends and begins on either side.

Take the piece you just cut off and lay it perpendicular on the binding strip, opened up so it is flat.


Now take the right side binding piece, bring it over the top of the left strip and cut binding piece so that it overlaps them both.

Cut the right side strip at the edge of the perpendicular strip.


Toss the cut off strip pieces from both sides, you no longer need them. Now, take the left side strip and open it up. Lay it right side up on the top of the quilt.

Take the right side strip and open it. Lay it right side DOWN and perpendicular to the left side strip. You will have to pull it over to do this, bunching up the quilt a little so it can reach.


Pin these together where you anticipating sewing. It's the same process as combining strips when making the binding. Pin from top left to bottom right on the diagonal.

Pull the strips taut by flattening the quilt to see if it's the right length and if you sew where the pins are, will it lay flat or be twisted.

Open it back up and draw a line if you need to and sew it.


Trim off the excess fabric, finger press the seam open. Fold into fourths again and finger press the creases.


Finally, wrap it around the quilt, pin and sew the last bit of binding on.

Last item of business. Go around the entire back side of the quilt and check to be sure you have caught the edge all the way around, including corners.

Sometimes it looks good.

Sometimes, you can see when you goofed. I have to say, I goof less and less each time I do this, though, so practice is a good thing.


I hope this helps and you can have an easier way to attach binding! Please let me know if you have any questions or suggestions.


Cheers!
Beck